Disclosure: Thank you so much for your interest in my work. This space is a place where I share my honest thoughts, recommendations, and joy for life. I’m honored you’ve joined me. Some of these recommendations come in the form of affiliate links through my Amazon Associate account. This means, at no additional cost to you, I earn a small commission on any qualifying purchase. Your support means the world.
Updated December 10, 2020
This Post Includes
- Top 2 Essentials to Take Photos of Yourself
- The Best Photography Gear to Take Photos of Yourself
- Shooting and Posing Tips for Taking Photos of Yourself
An In-depth Guide to Taking Photos of Yourself
Wish you regularly had better photos of yourself? I feel you.
Flattering photos make you more confident. And if you’re using them for business — they increase your reach and improve your brand.
Big social media influencers work with professional photographers. I’m not going to beat around the bush; there’s no replacement for a great photog. (If you need a recommendation, shoot me an email.) BUT — you don’t have to hire a professional photographer to capture good photos of yourself.
I don’t have an Instagram husband. And, I only hire professional photographers for special occasions (weddings, family reunions, website updates, birth photos, etc.).
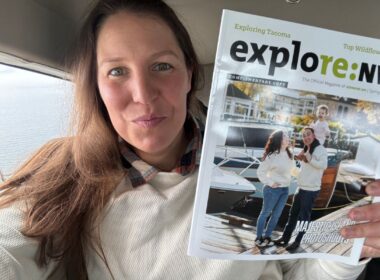
All the photos you see on Instagram and my website are shot by me, unless otherwise attributed. So, how do I take them? This post dives deep into the gear, shooting tips, and editing techniques I’ve developed over time.
If you’re really busy and don’t want to read the whole deep-dive — just check out the Top 2 Essentials to Take Photos of Yourself.
Top 2 Essentials to Take Photos of Yourself
The gear list and shooting tips may feel overwhelming. Breathe girl. You don’t have to break the bank, especially not right away. Nor do you have to wade through this crazy in-depth post — unless you’re like me and want all the details.
The following are two facts I believe in if you’re shooting photos of yourself:
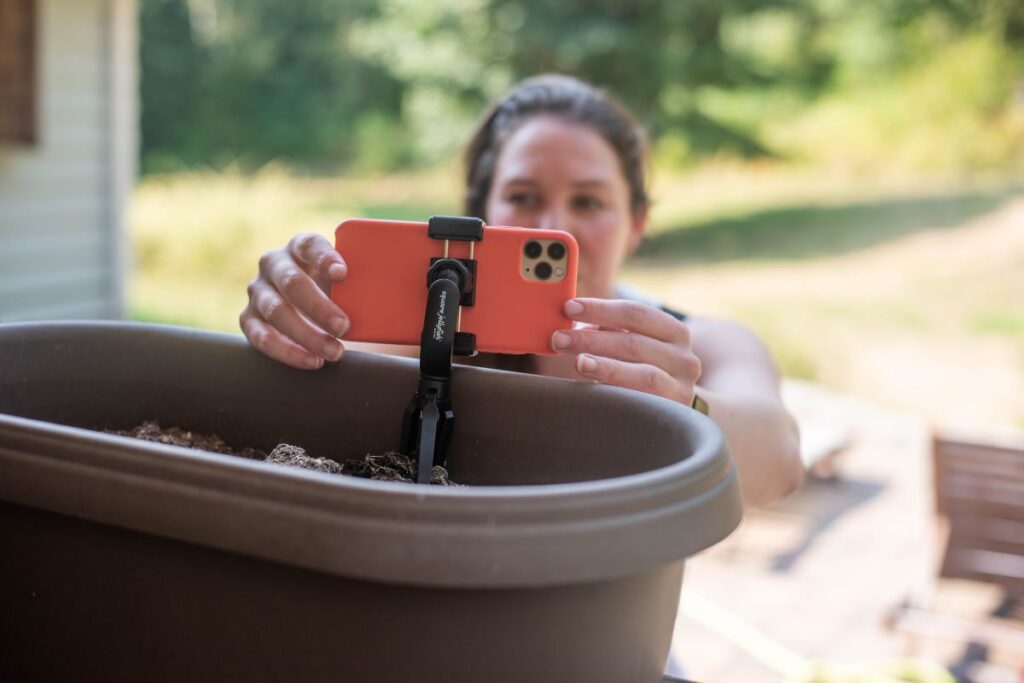
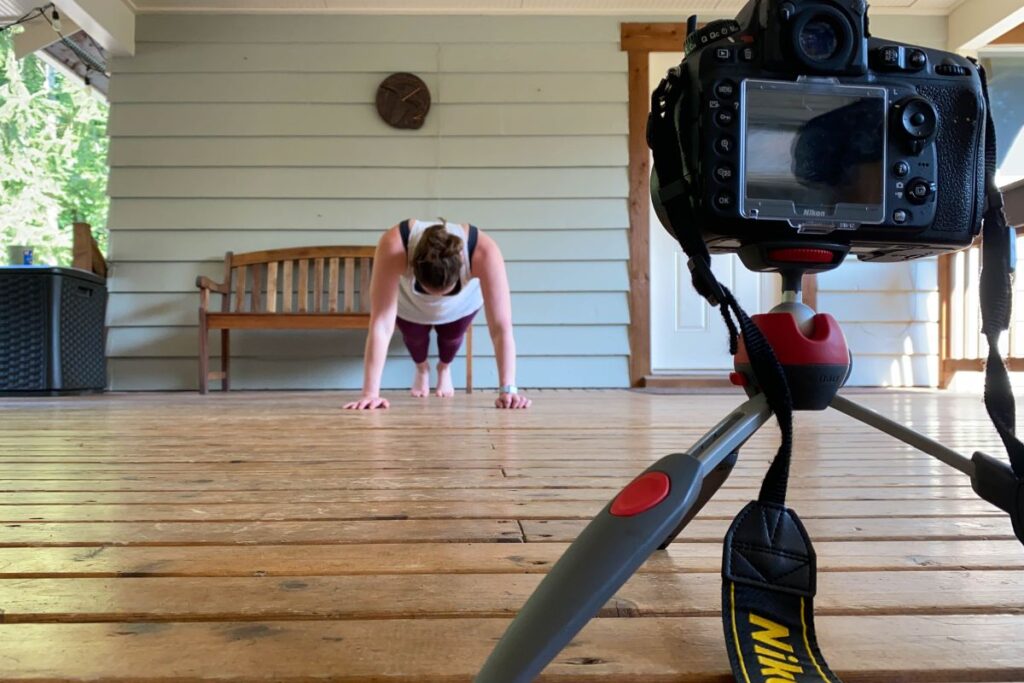
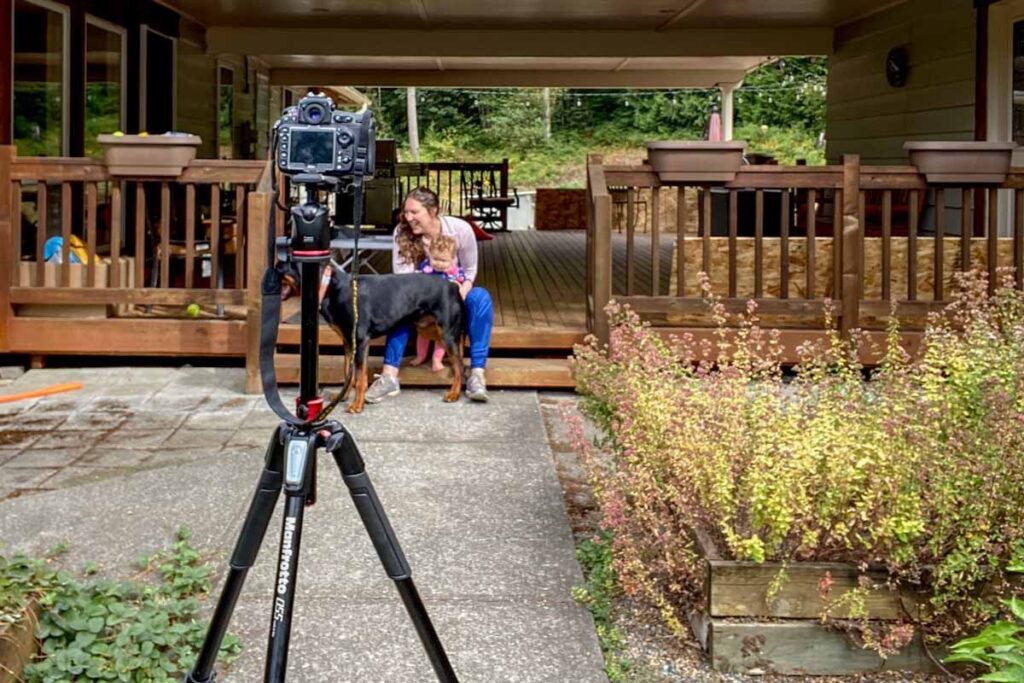
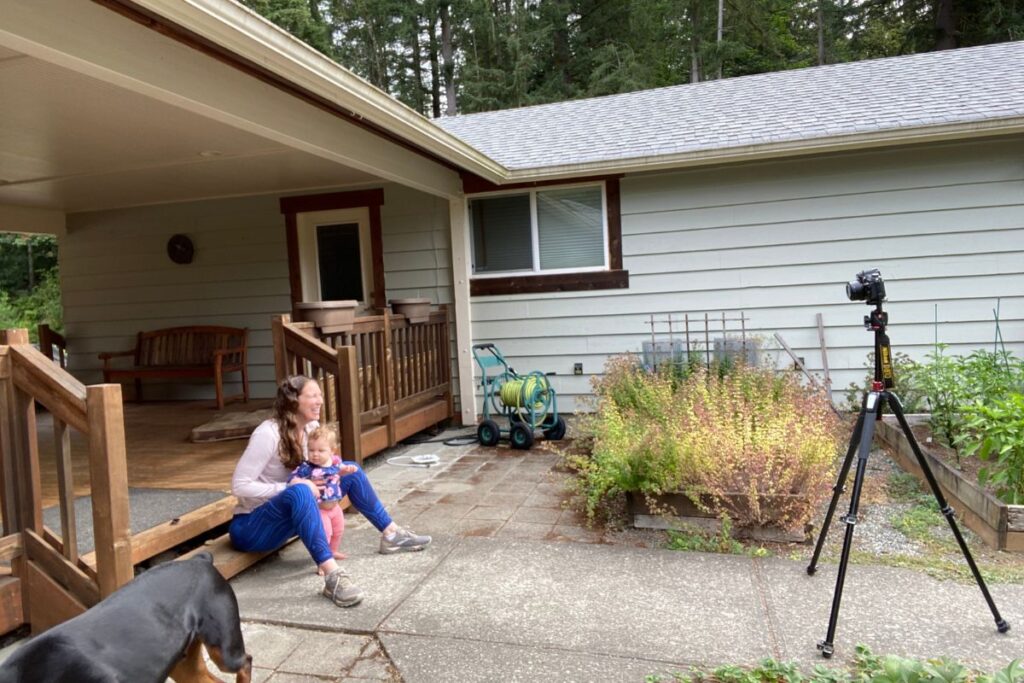
1. Always Use a Tripod & Wireless Remote
There’s no replacement for the stability of a tripod. And when it comes to getting crisp photos, a wireless remote is a must.
(The exception to the remote is shooting with your iPhone. Your iPhone does a great job of auto-focusing right before the shot, so you can get away with just using the timer.)
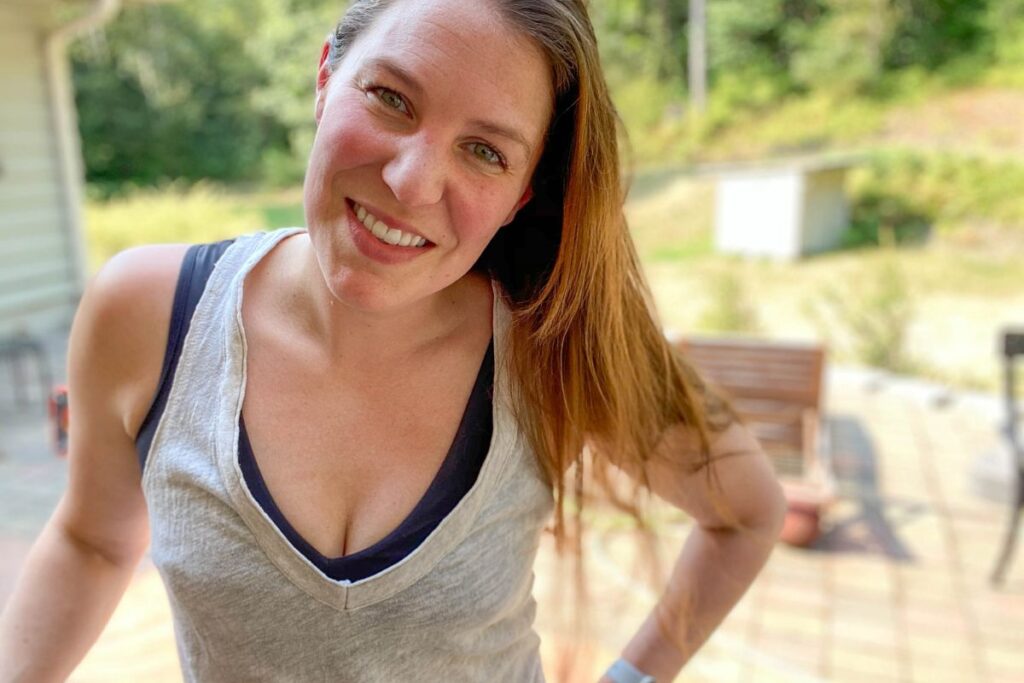
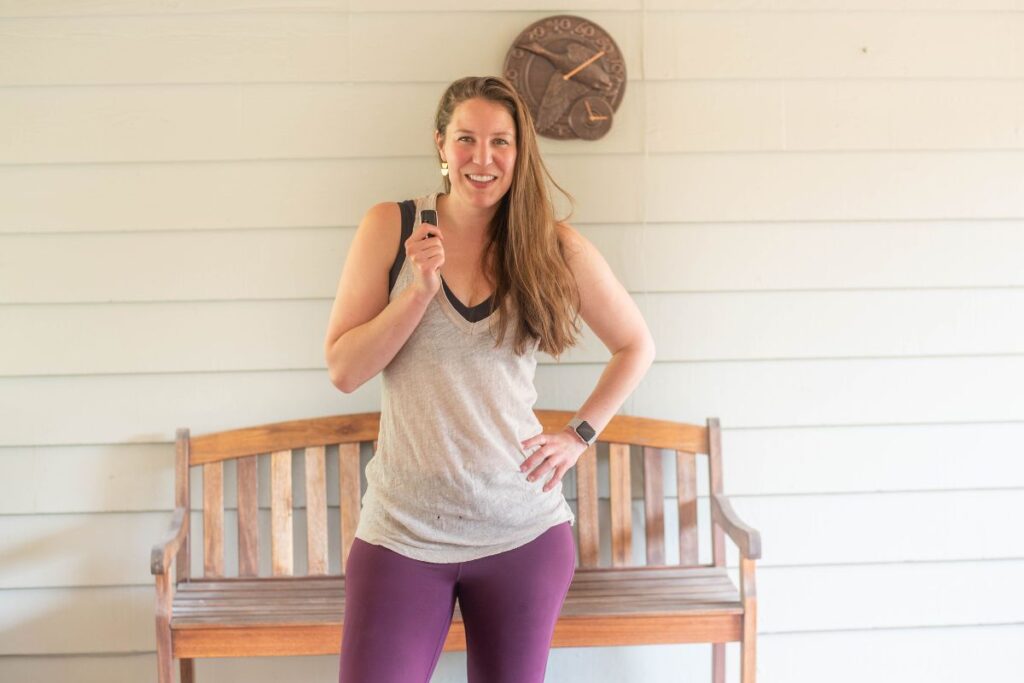
2. Embrace the Belly Laugh
As silly as you may feel, place both hands on your belly, take a deep breath all the way down to your abdomen and let it ripple out of you in laughter. This simple act is an ice breaker that puts a smile on your face.
The Best Photography Gear to Take Photos of Yourself
The following outlines what photography gear I use, plus a few other recommendations. These are by no means the only option. This guide is more to say, get a tripod. Not get this exact tripod I’m using.
It’s also worth noting that I use a Nikon camera. If you choose to invest in a higher-end camera with removable lenses, it’ll be more cost-efficient to stick with that brand moving forward. I’ve expanded upon this in the ‘Camera’ section.
1. Tripod
You need a tripod. I don’t know how else to put it. If you’re going to take photos of yourself that don’t look like your arm is a selfie stick, a tripod is essential.
These are what I currently use:
SUPER SLIM iPhone: Pocket Tripod
I just started using this tripod and I’m loving it for the fact that it can fit in the credit card slot of my wallet. It allows you to take both horizontal and portrait pictures. And, it lets you adjust the angle of the camera.
There is definitely a learning curve, as there are many ways to use the tripod. But I think once I’ve mastered it, I won’t feel like the setup is hard at all. More to report as I learn.
iPhone: Square Jellyfish Mount and TriPod
Pros:
- Easy to use phone grip.
- Small and lightweight.
- Easily tilts and rotates 360 degrees.
Cons:
- Lightweight legs make it difficult to support a downward tilt. (I often counter this by placing something heavy on the back leg.)
- Doesn’t ‘attach’ to objects, like a pole or tree. (See Gorilla Pods below)
Travel-Friendly DSLR: Manfrotto PIXI EVO 2-Section Mini Tripod
Pros:
- Super-lightweight.
- Small frame that can fit in a shoulder bag or purse.
Cons:
- Not ultra-sturdy.
- Needs a flat or stable surface, like a tabletop or the dirt.
- Does not allow for adjusting camera height, unless propping tripod on objects.
Sturdy: Manfrotto 055 Aluminum 3-Section Tripod Kit with Horizontal Column and Ball Head
Pros:
- Sturdy.
- Quick Power Lock leg extensions offer easy height adjustment.
- 90-degree shooting capability.
- Max height of 181.5 cm (just shy of 6 feet), allowing most individuals to get a slightly elevated angle. (See more in ‘Position the Camera Slightly Above You’ in Shooting and Posing Tips.)
Cons:
- Weight makes it not very travel friendly. (You definitely wouldn’t catch me hiking with this bad boy.)
- The center column mechanism on mine has recently popped apart. I put it back together, but I imagine it’ll only last so long. (I’ve had it and used it a lot for three years.)
Other tripod options people I trust use and I’m considering getting for myself:
- Gorilla Pods (I had one of these and lost it. Just haven’t gotten around to replacing it yet.)
- Vanguard Alta Pro 2+ 263AB100
If you’re looking to keep your costs low, check second-hand stores like Value Village and GoodWill. They almost always have a selection of tripods for less than $10. Just keep in mind, you get what you pay for. Typically these used, lower-cost options can be more cumbersome to adjust and clunkier to move around.
2. Wireless Remote
Before I bought a wireless remote, I’d spend 20, 30, sometimes 40 minutes trying to precariously balance an object where I wanted my face to be, focus my camera, start the timer, and then rush to remove the object and replace the space with my face.
It was a disaster. The images were never sharp, and I always looked haggard. I use this wireless remote and love it: RFN-4s Wireless Remote Shutter Release for Nikon DSLR with MC30 Type Connection
If you get this wireless remote, one thing to keep in mind is that the camera attachment uses the camera’s battery. If you leave it attached when you’re done, be sure to turn it off or it’ll drain your battery.
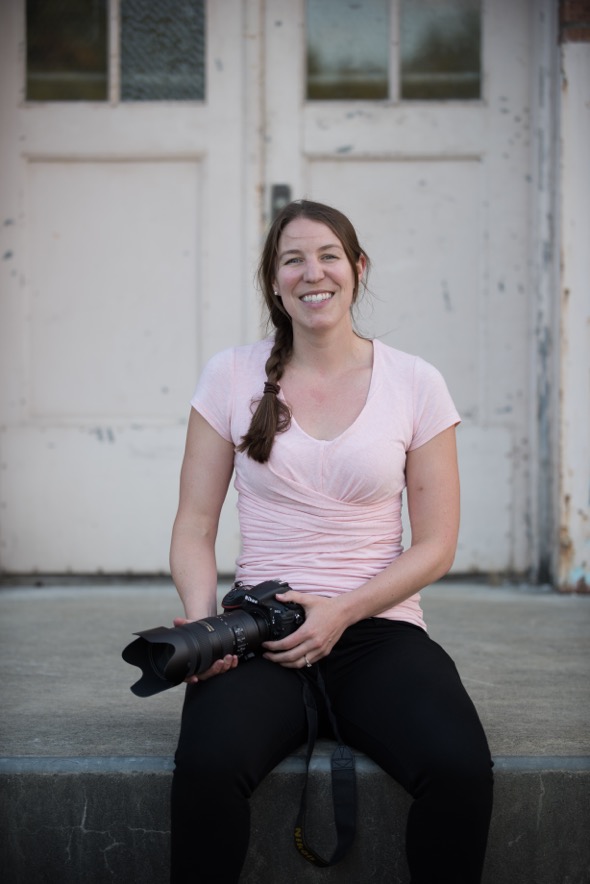
3. Camera
Does an expensive, high-end camera make it easier to take better photos? Definitely. Is it essential? No.
You DO NOT have to have a high-end DSLR to get good photos. See the sections about lighting, glass, and editing.
Now let’s talk cameras. My very first ‘splurge’ felt like a HUGE splurge. Unfortunately, it didn’t take me long to wish I’d spent more off the bat. This is why I encourage you to consider how long you hope to use your camera and what you want to use it for. Cheap might not be the best bet here.
I’m currently using:
- Nikon D810
- iPhone XI Pro
I’ve had my D810 for five years. It’s been a fabulous investment that I’ve used a lot. But it’s getting old and I’m planning to get a new camera body soon. My next purchase will likely be a mirrorless camera.
Because I am so heavily invested in Nikon lenses, I will likely get the Nikon Z6. If you have already started buying high-end glass, it’s likely more cost-effective for you to also stay with the same brand. If I were going to change brands, I’d seriously consider Canon or FUGI.
That being said, everyone has different preferences. If you can, take the time to go to the store and handle other options. See how they fit in your hand and how you like using the buttons.
4. Lenses (aka ‘Glass’)
Popular wisdom is to invest in glass. Popular wisdom is not wrong. There is no replacement for good lenses. Here are two things to understand when buying lenses:
F-stop controls the ‘depth of field.’
The lower the f-stop capability on a lens, the more expensive it typically is.
Why does depth of field matter? Do you love photos where the subject is crisp and the background is beautifully blurred? That’s what controlling the depth of field lets you do. It lets you choose what is in focus.
But, you definitely pay for this ability. The lower the f-stop on a lens, the higher the price point.
Prime Lenses Don’t Zoom Automatically
As the name suggests, a zoom lens allows you to get closer to and further from an object without physically moving your body. Prime lenses don’t zoom in or out. You have to physically move to change what’s in the frame.
There are some advantages to both prime and zoom. Namely, prime typically delivers a crisper image, while zoom gives you more flexibility on the go.
My Lens Kit Includes:
- 28mm 1.8/f
- 50mm 1.8/f
- 70-200mm 2.8/f
If I had to choose any one lens to shoot photos of myself, I’d go with a 50mm 1.8/f. This lens offers the best performance for the price point and takes the most flattering pictures.
That being said, the 50mm is a ‘prime’ lens. Depending on where you plan to shoot, this may be limiting. My next addition will be something like the 28mm-70mm 2.8/f. While a pricey addition, this would offer the best of all words — framing flexibility and a low f-stop.
5. Photo Editor
For a long time, I used the standard photos app that came with my computer. If that’s all you can afford, it’s better than nothing. That being said, switching to Lightroom was a game-changer.
Lightroom gives you SO much more control over the photo, without the crazy learning curve of Photoshop. Additionally, I use the Lightroom app on my phone, which allows me to quickly edit iPhone photos. This is a great perk of buying the Creative Cloud subscription.
7 Shooting and Posing Tips for Taking Photos of Yourself
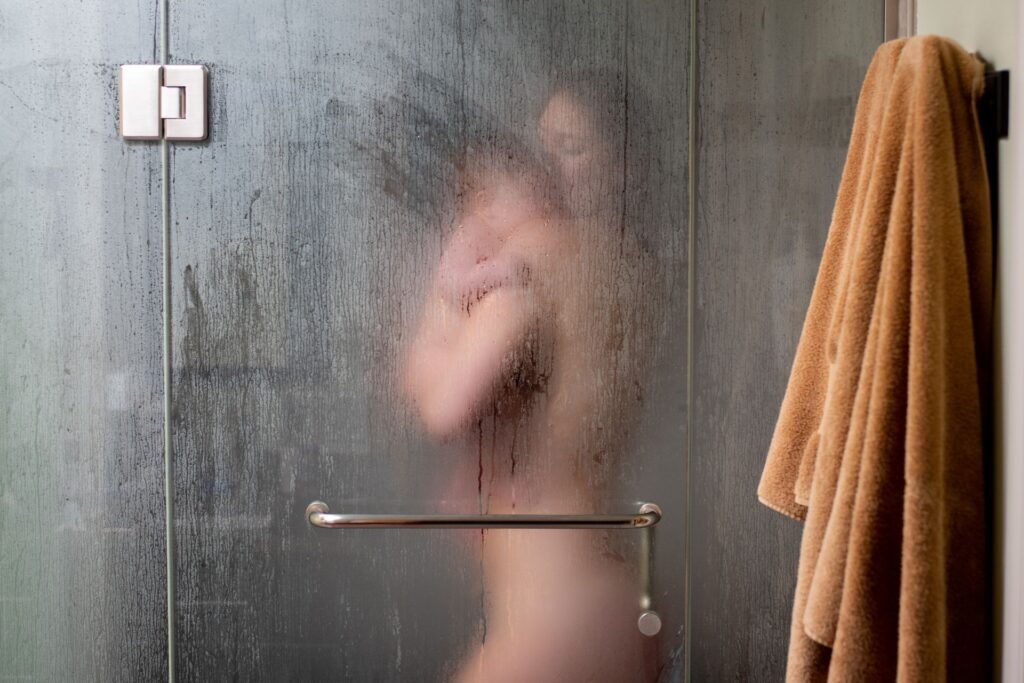
Whether you’re taking photos of yourself in private or on a public street — it’s awkward! I still feel that awkward pang even now when I’m all alone.
The more you do it, the better it gets. Hands down, embrace the awkward. The following tips will help you take better, more flattering photos.
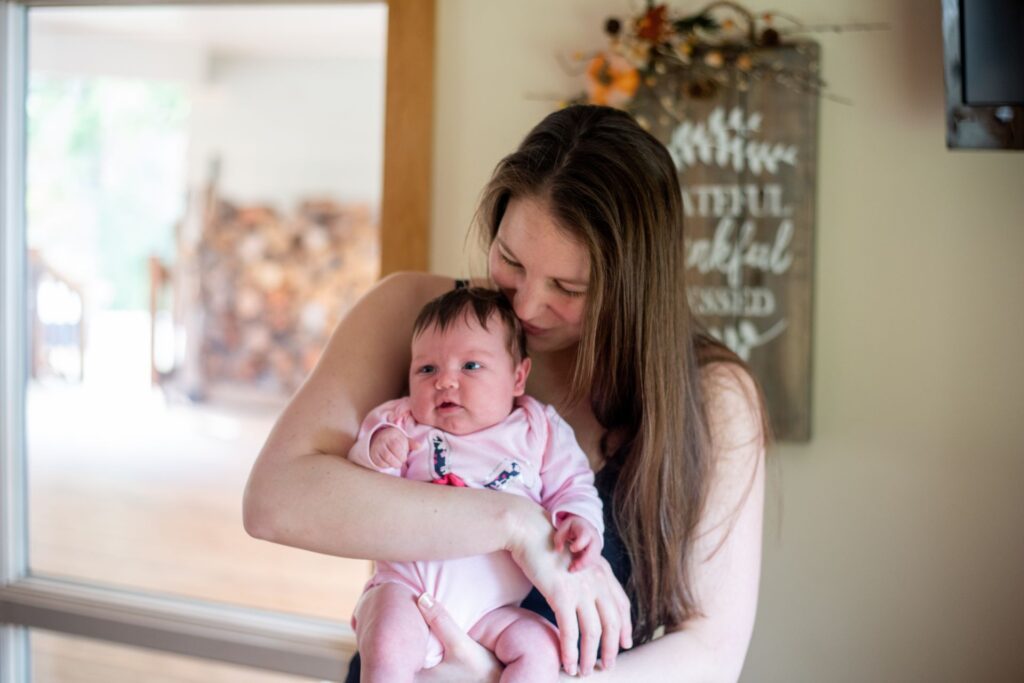
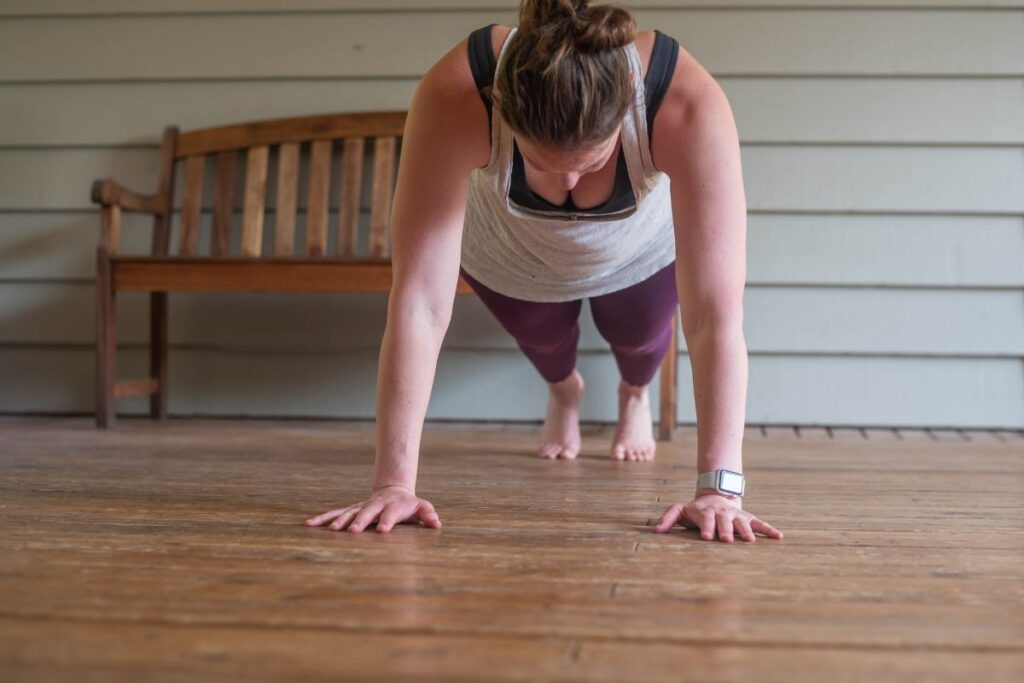
1. Soft Natural Light is Your Best Friend
Unless you invest in lighting equipment and learn how to use it (I haven’t), use daylight. It’s the most flattering option for skin tone and shadows.
You want to look for spaces that offer soft light. Indoors, this means shooting near a window where light is gradually coming through.
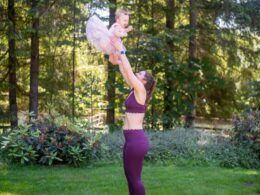
When you’re shooting outside, it’s easiest to avoid shooting in direct sunlight. The golden hours — sunrise and sunset — are ideal. However, you can still get beautiful diffused light by shooting in a shadow, such as under a covered porch or beneath a tree.
2. Shoot at the Highest File Size Available – RAW is Preferable
The higher the file size, the more data you have to work with. In laymen’s terms, the bigger the file, the easier it is to ‘save’ an overdeveloped or underdeveloped photo.
If you shoot in RAW (an option for DSLRs and mirrorless cameras), you will need to invest in a photo processing app, like Lightroom. RAW images capture an immense amount of detail, allowing you to more accurately reduce shadows, adjust colors, and remove blemishes. (You better believe I take out zits!)
3. Position the Camera Slightly Above You
One of the simplest ways to look longer and leaner in a photo is to move the camera slightly higher than your eye level.
This slight elevation helps naturally draw your face up and extend your neck, reducing the chance for unwanted skin folds or overly accentuated cheeks.
It’s also very flattering to your figure, making your legs, torso, and arms look longer and leaner.
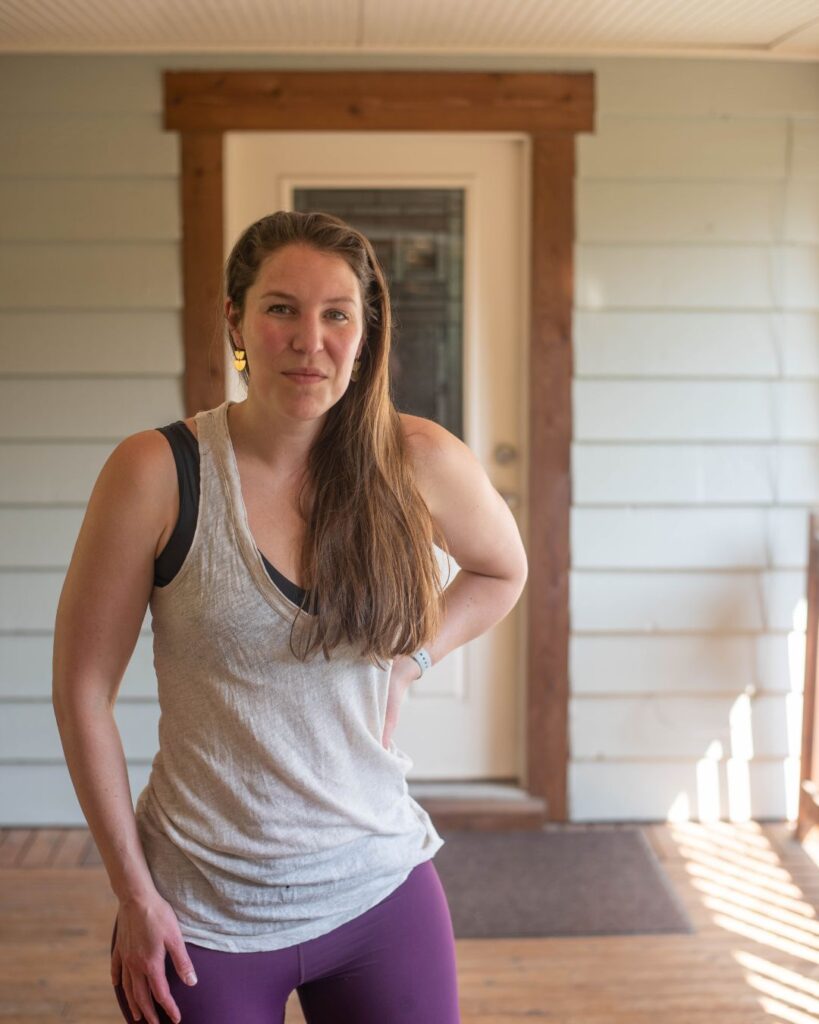
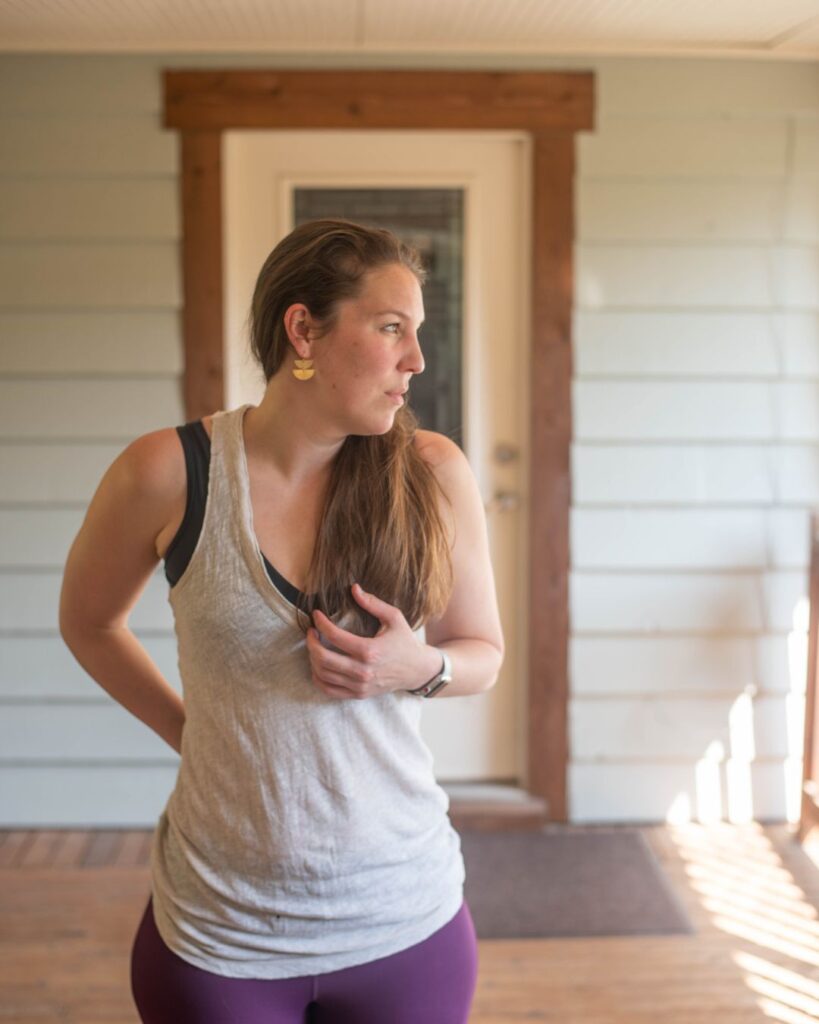
4. Tilt Your Body
I rarely face the camera head-on. My body is almost always slightly tilted. Sometimes I simply put one foot a half-inch in front of the other. This brings the corresponding shoulder slightly forward, helping to make my body to take up less of the frame and appear smaller.
Movement is another good way to tilt your body. Here are a few ‘moves’ I like to do:
- Look up and to the left, down and to the left, up and to the right, and then down and to the right.
- Twirl in a circle.
- Shimmy my shoulders.
- Double over while laughing.
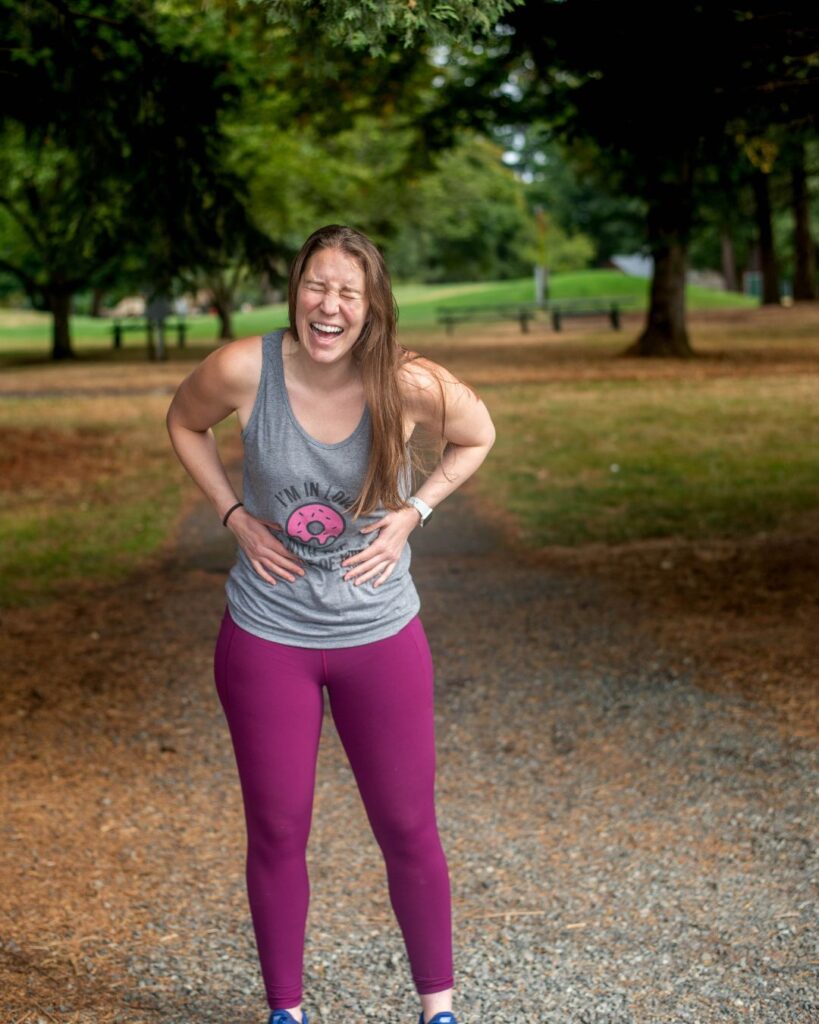
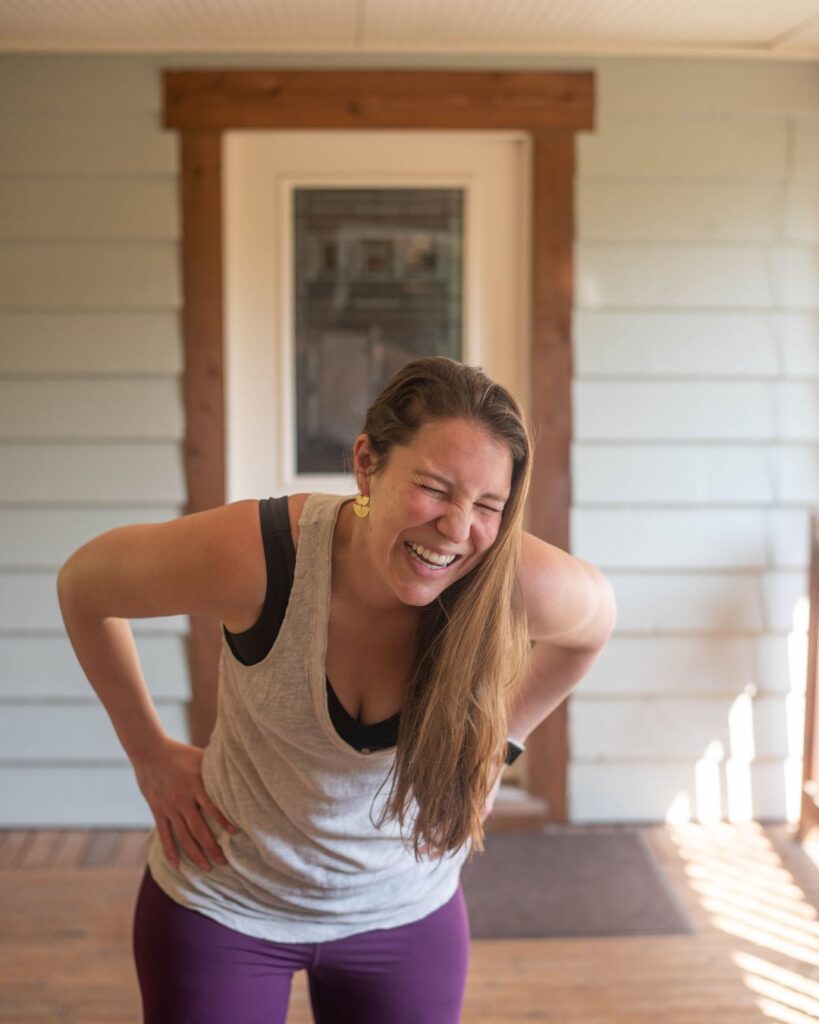
5. Let Yourself Belly Laugh
One of the most common issues when it comes to taking photos is being comfortable. It’s really easy to get nervous or fidgety. And that nervousness shows in photos.
Whether I’m in a private or public space, I’ve found laughter is the best way to get over feeling uncomfortable. This is a pretty silly technique, but I strongly encourage you to give it a try. I think you’ll be surprised and how fast forced laugher turns into genuine laughter.
- Place both hands on your belly.
- Take a deep breath, drawing air all the way down to your abdomen.
- Let the air ripple out of you as you say “hahahaha.”
Once you’ve done one or two with your hands on your belly, try moving your hands to other locations to find a placement that feels more natural to you.
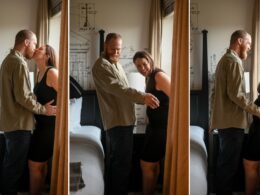
6. Use Your Timer & Take Multiple Photos at One Go
I like to use the timer setting on my camera. This gives me two distinct advantages:
- It gives me an opportunity to hide my wireless remote.
- It allows me to take multiple photos at a time.
Generally, I’ll take 9 photos at a time. This means for every one time I press the wireless remote, my camera is capturing 9 different frames. This is how I’m able to ‘move’ during photos and belly laugh, but still find an okay frame.
7. Practice
There is no replacement for practice. I don’t care how many blog posts you read or YouTube tutorials you watch. The only way you’re going to get better at taking and editing photos of yourself is to practice.
I strongly suggest starting out in a private space. This can help reduce your nerves. It also gives you the freedom to look at how your shots went and try again.
Sometimes I’ll have stepped just outside the focus field. Other times I’ll have a bra strap hanging out. Or I may just look like a crazy person in every frame. Checking to see how the photos look, gives me the opportunity to re-shoot while I still have everything setup.
Popular Posts